Foldable Simulator Assembly
How to assemble your birth simulator kit
The simulator needs some basic assembly using 4 screws & 2 pairs of machine screws & wingnuts, all provided in the kit. You will need a screwdriver and wood glue (optional but recommended).
This video shows you how to assemble, adjust, and use the simulator.
Assembly pictures
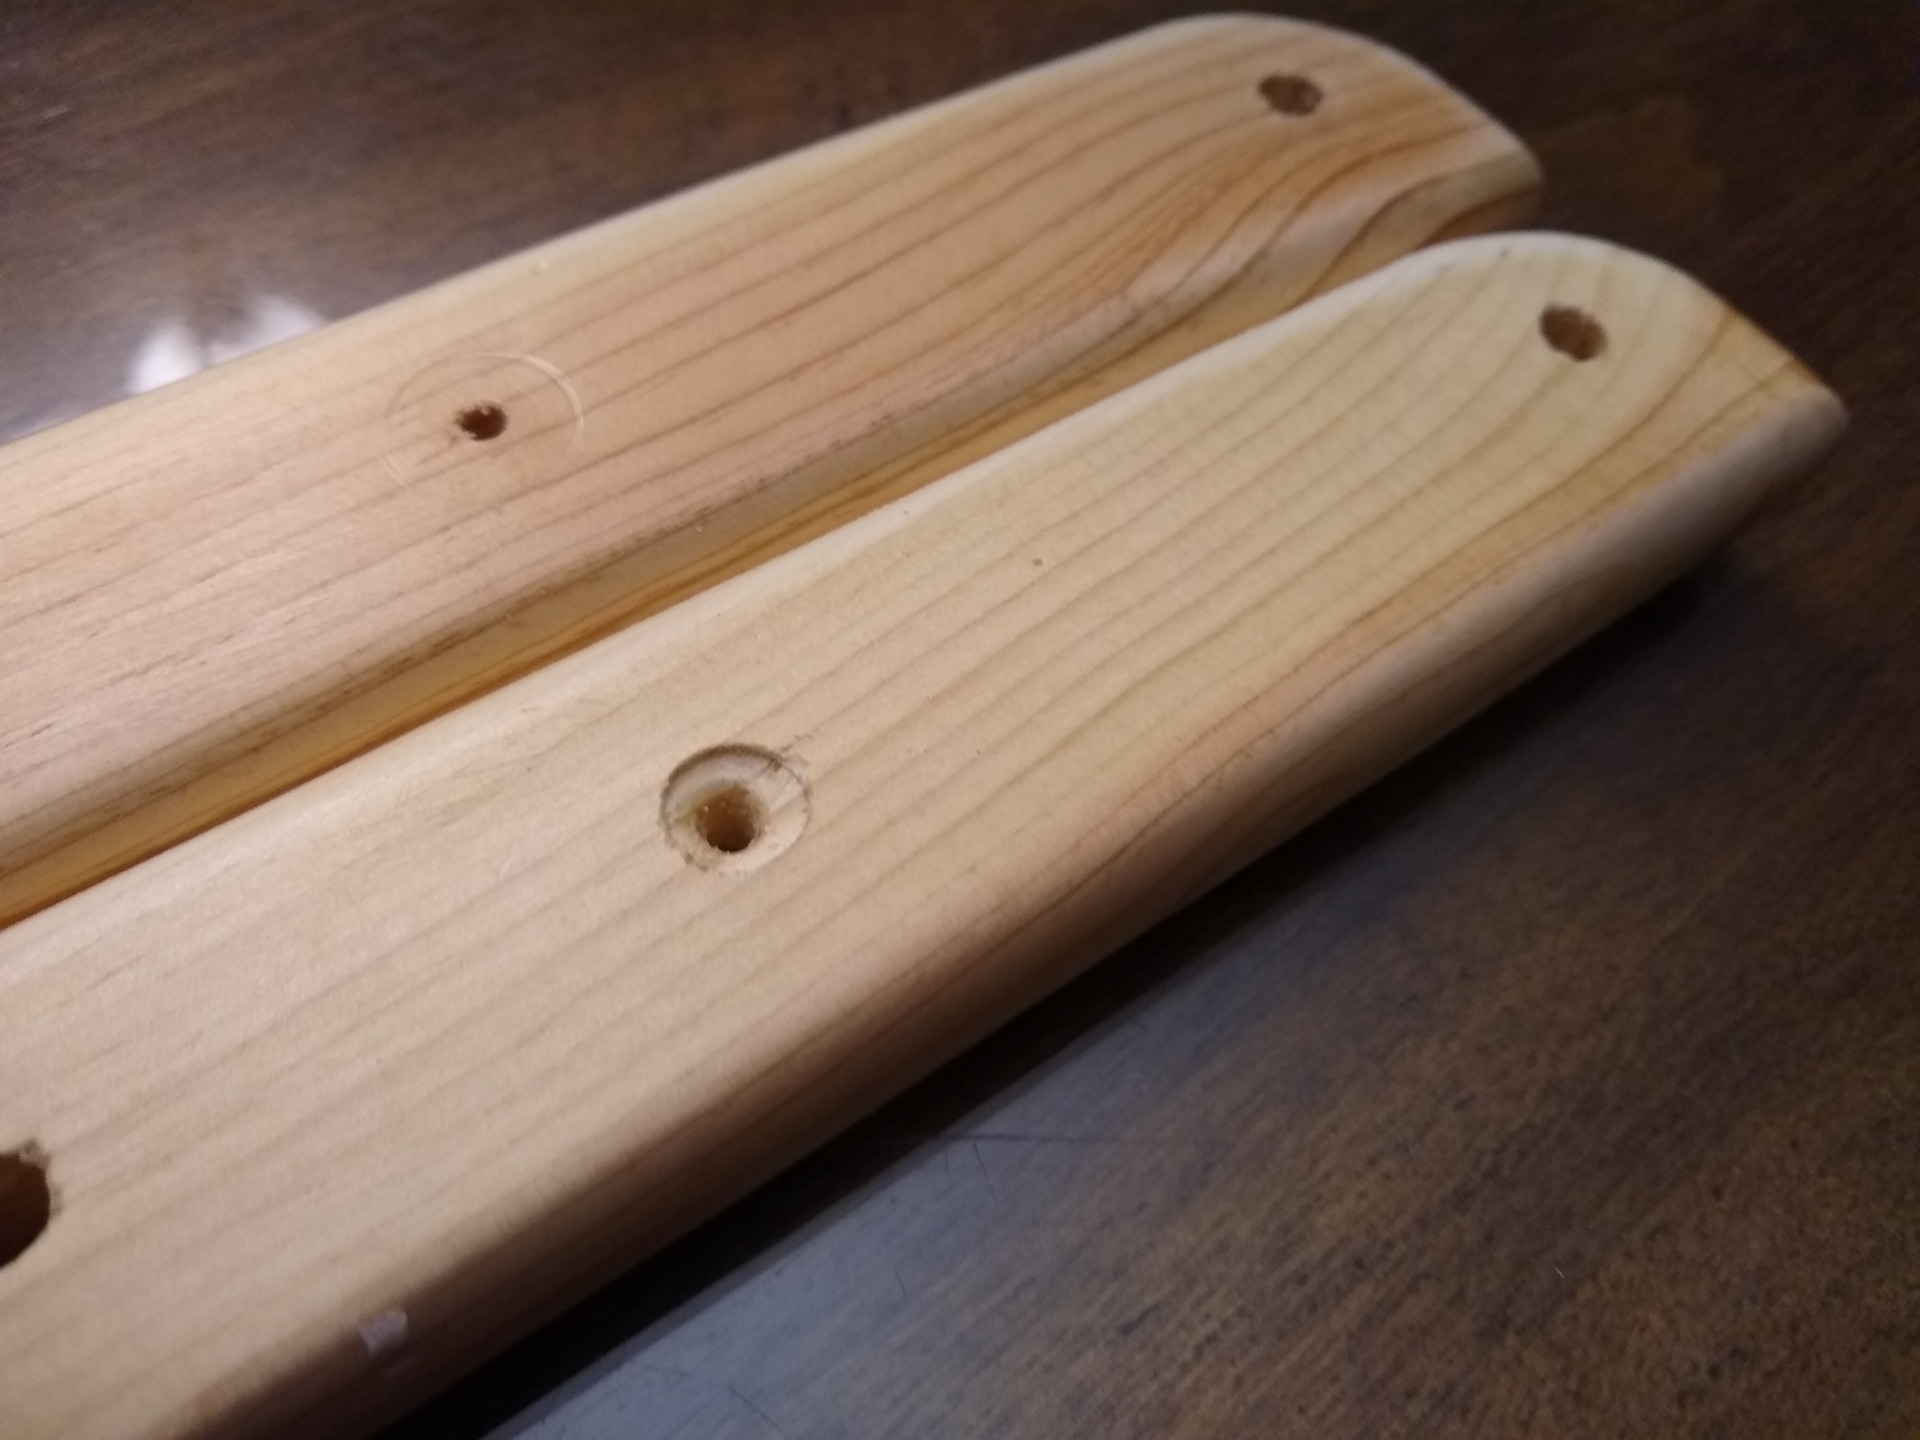
Please note: the kits come with holes countersunk on one side to allow the screw heads to sit flush. Please insert the wood screws through the countersunk holes.

Step 1: Put the 4 screws in the correct holes and line up the 2 dowels. We advise putting wood glue on the dowel ends before inserting the screws.

Step 2: Tighten the screws into the dowels. This makes the center frame.

Step 3: Lay the center frame inside the two hinged side pieces. Line up the larger holes and fasten the first set of bolts & wingnuts.

Step 4: Choose your birth position (standing, upright, or supine) by putting the 2nd set of bolts through the appropriate holes.


